
Something we pride ourselves on at AH4 is our willingness to do whatever it takes to make our work as special as possible, and to constantly improve on our technique. Among the techniques we have included in our repertoire is adding an epoxy finish to some of our painted tabletops. Nothing else beats that sheen atop your own artwork!
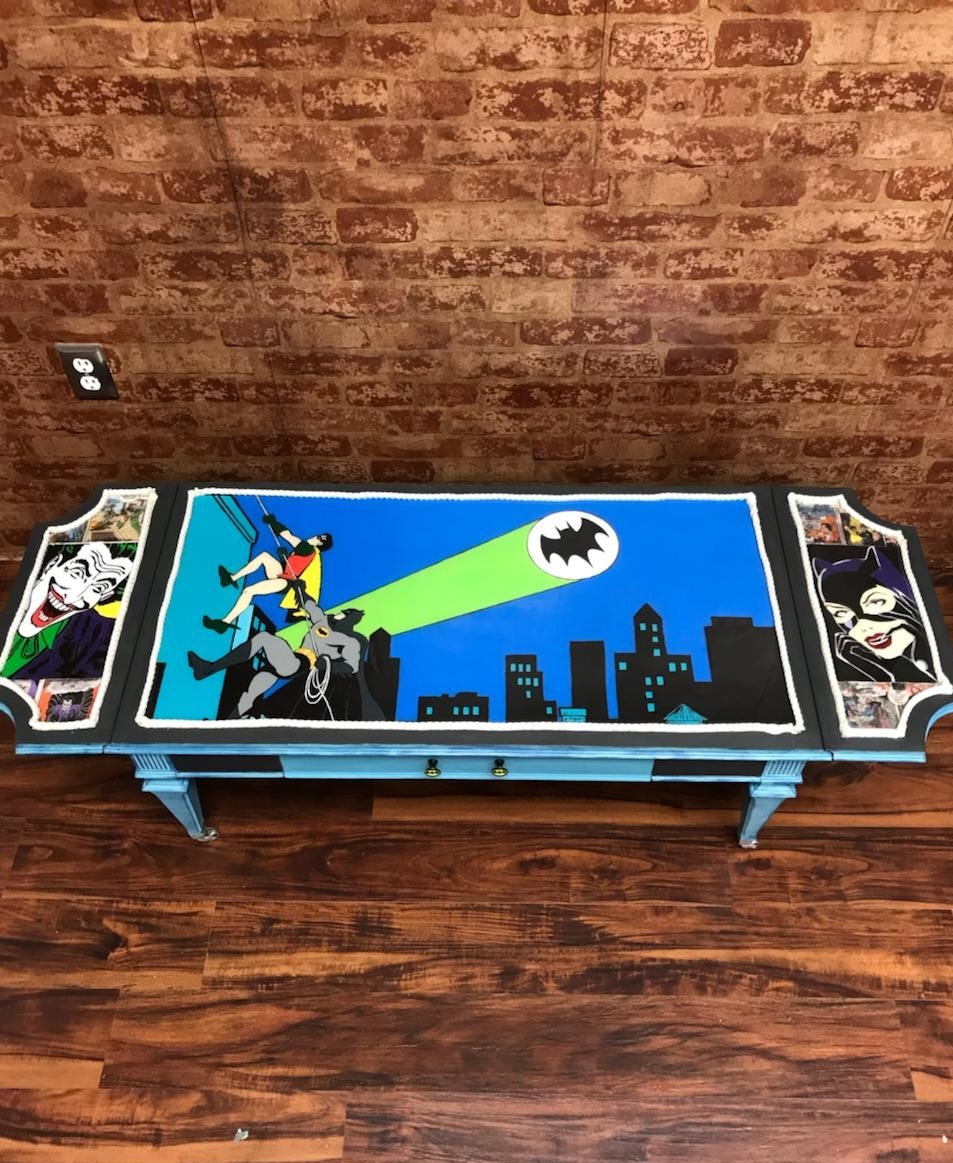
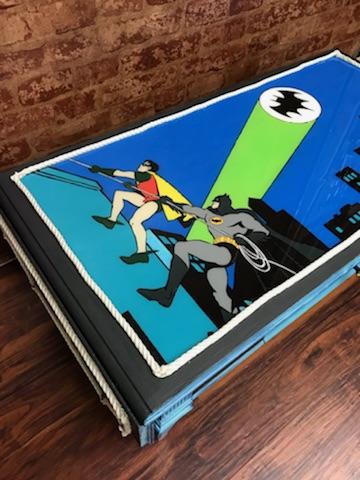
This Batman Table is not the first time we layered one of our tabletops with epoxy, but it was certainly among the smoothest and nicest finishes we've had!
We used ArtResin Epoxy for this finish. The various kits and advice they offer on their website made what can often be a hold-your-breath process as stress free as can be.

Resin and harderner...

...which we then mixed together.
First we mixed equal portions of the resin and hardener, pictured above. We then carefully poured the mixture onto the tabletop. As part of the piece's artwork, we surrounded the border of the tabletop with a rope--Batman does do a lot of climbing, you know--and this barrier also assured that none of the epoxy would seep off onto the edges of the table! Sometimes in art, form is function, right?
Once we poured the mixture, we used a brush to even out the surface, then an artist's torch to get rid of any pesky bubbles that didn't pop on their own.

Watch out for bubbles!

Let sit for 24 hours...
Once this process was complete, we covered the piece in a canopy for 24 hours. No one wants dust to mix in with their finish as it cures!
We then repeated the process on the wings that we added to each side of the table. I think you'll agree that the artwork really pops with this glassy epoxy finish.
Thanks again to ArtResin for this awesome product! And don't be afraid to take risks in YOUR art.